Welcome to the ultimate guide to gardening lime! Whether you’re a newbie or a seasoned gardener, this comprehensive article has got you covered. In the world of gardening, lime is a versatile and essential tool that can make a world of difference to your plants’ health and the productivity of your garden.
In this guide, we will delve into everything you need to know about gardening lime. From its various types and applications to its benefits and potential pitfalls, we’ll leave no stone unturned. Discover how lime can help neutralize acidic soil, improve nutrient availability, and enhance plant growth. Learn about the different lime varieties available and their respective uses, so you can choose the right one for your specific gardening needs.
Whether you’re a vegetable enthusiast, a flower lover, or simply want to maintain a healthy lawn, understanding gardening lime is crucial. So, join us on this educational journey and unlock the secrets of this remarkable gardening resource. Get your lime ready and let’s dive in!
The importance of pH levels in gardening
Gardening lime, also known as agricultural lime or garden lime, is a soil amendment used to raise the pH level of acidic soil. It is made from crushed limestone or chalk and is rich in calcium carbonate. When added to the soil, lime helps neutralize acidity, making it more alkaline and creating a more favorable environment for plants to thrive.
There are two main types of gardening lime: calcitic lime and dolomitic lime. Calcitic lime contains mainly calcium carbonate, while dolomitic lime contains both calcium carbonate and magnesium carbonate. The choice between the two types depends on the specific needs of your soil and plants.
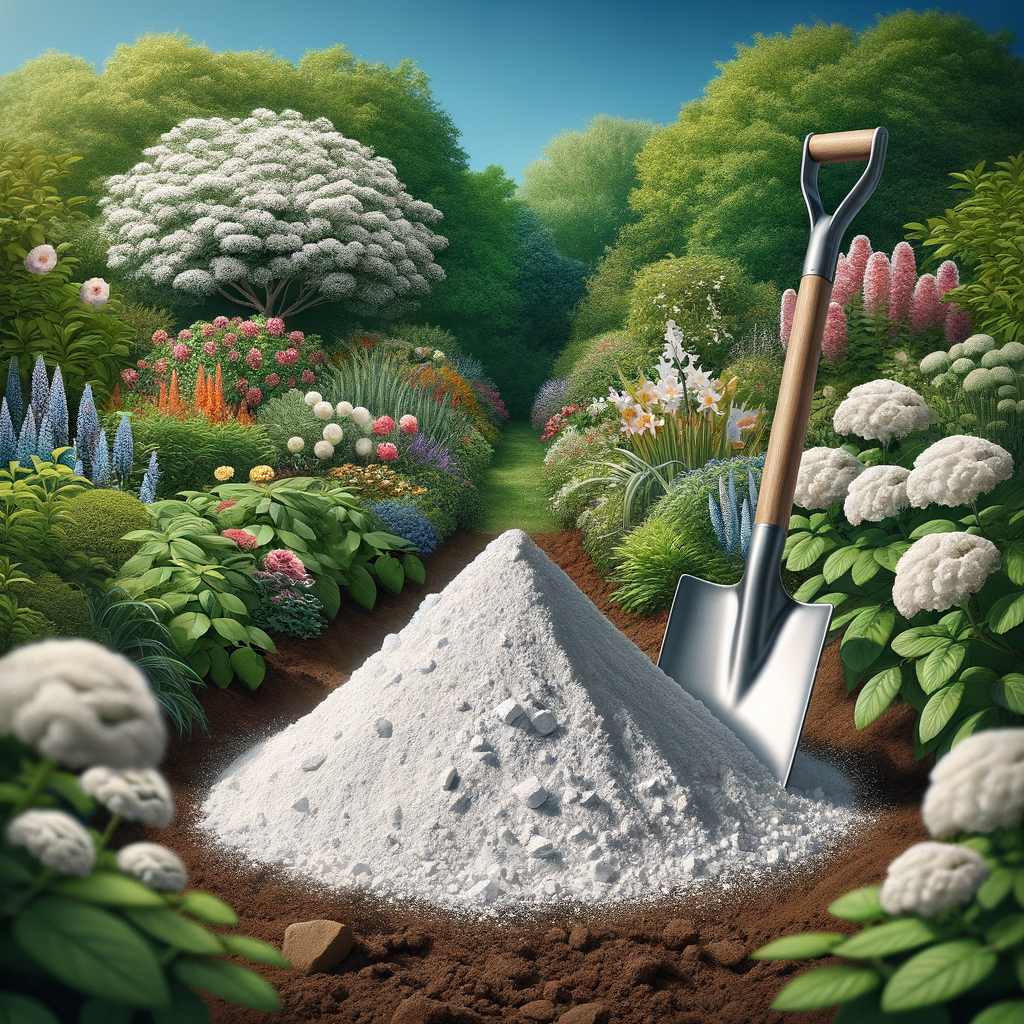
Gardening lime is available in different forms, including powdered lime, pelletized lime, and liquid lime. Each form has its own advantages and can be used in various ways, depending on the preferences and requirements of the gardener.
Types of gardening lime
Understanding pH levels is essential for successful gardening. pH is a measure of the acidity or alkalinity of the soil, and it affects the availability of nutrients to plants. Most plants prefer a slightly acidic to neutral pH range of 6.0 to 7.0. However, some plants, such as blueberries and rhododendrons, thrive in more acidic conditions, while others, like asparagus and spinach, prefer slightly alkaline soil.
When the pH of the soil is too acidic or alkaline, it can lead to nutrient deficiencies and poor plant growth. Acidic soil, with a pH below 6.0, tends to have an excessive amount of hydrogen ions, which can inhibit the availability of essential nutrients like nitrogen, phosphorus, and potassium. On the other hand, alkaline soil, with a pH above 7.0, can result in the lockup of certain nutrients, making them unavailable to plants.
By adjusting the pH level of your soil with gardening lime, you can optimize nutrient availability and create better growing conditions for your plants. It’s essential to test the pH of your soil before applying lime to ensure you’re making the right adjustments.
Benefits of using gardening lime
There are two main types of gardening lime: calcitic lime and dolomitic lime. Calcitic lime is composed primarily of calcium carbonate and is ideal for raising pH levels in soils that are deficient in calcium. It is commonly used in gardens where calcium-loving plants, such as tomatoes and peppers, are grown.
Dolomitic lime, on the other hand, contains both calcium carbonate and magnesium carbonate. It is suitable for soils that are deficient in both calcium and magnesium. This type of lime is often preferred for lawns and garden beds where a balanced supply of both nutrients is desired.
In addition to the two main types, there are other specialized lime products available, such as hydrated lime and quicklime. These products are typically used in industrial applications and are not recommended for gardening purposes.
How to test soil pH
Using gardening lime offers several benefits for your plants and garden. Let’s explore some of the key advantages:
1. Neutralizes acidic soil: One of the primary functions of gardening lime is to neutralize acidic soil by raising its pH level. This helps create a more balanced environment for plants and improves nutrient availability.
2. Improves nutrient availability: When the pH of the soil is too acidic, essential nutrients become less available to plants. By raising the pH with lime, you can unlock these nutrients and make them more accessible for uptake by plant roots.
3. Enhances plant growth: By providing a favorable pH level and improving nutrient availability, gardening lime promotes healthy plant growth. It can lead to stronger root development, increased flowering, and higher crop yields.
4. Corrects nutrient imbalances: In addition to adjusting pH, lime can also correct nutrient imbalances in the soil. For example, if your soil lacks calcium or magnesium, dolomitic lime can supply these nutrients and ensure their proper utilization by plants.
5. Enhances soil structure: Lime can contribute to the improvement of soil structure by reducing soil compaction and promoting better water drainage. This allows plant roots to penetrate the soil more easily and access water and nutrients.
6. Promotes beneficial microbial activity: Lime can create a more favorable environment for beneficial soil microorganisms, such as earthworms and beneficial bacteria. These organisms help break down organic matter, release nutrients, and improve soil fertility.
7. Reduces the risk of certain diseases: Some soil-borne diseases, such as clubroot in brassicas, thrive in acidic soil. Raising the pH with lime can help suppress these diseases and create a less hospitable environment for pathogens.
By incorporating gardening lime into your gardening routine, you can reap these benefits and create an optimal environment for your plants to thrive.
When and how to apply gardening lime
Before applying gardening lime, it’s important to test the pH of your soil to determine the level of acidity or alkalinity. Soil pH testing kits are readily available at garden centers or can be ordered online. Here’s a step-by-step guide on how to test your soil pH:
1. Gather soil samples: Collect soil samples from different areas of your garden or lawn. Take samples from the top 6 inches of soil, avoiding areas where fertilizers or lime have recently been applied.
2. Prepare the soil samples: Remove any stones, roots, or debris from the soil samples. Mix the samples thoroughly in a clean container, ensuring they are well blended.
3. Perform the pH test: Follow the instructions provided with the soil pH testing kit. Generally, you will add a specified amount of soil to a test tube or container, along with the testing solution. Shake or stir the contents and wait for the color to change.
4. Interpret the results: Compare the color of the solution to the color chart provided with the testing kit. This will give you an indication of the pH level of your soil. The pH scale typically ranges from 1 to 14, with values below 7 indicating acidic soil, values above 7 indicating alkaline soil, and a pH of 7 being neutral.
Once you have determined the pH level of your soil, you can proceed with applying gardening lime to adjust it accordingly.
Precautions and safety measures when using gardening lime
The timing and method of applying gardening lime depend on various factors, including the pH level of your soil, the type of lime used, and the specific needs of your plants. Here are some guidelines to help you apply lime effectively:
1. Timing: It’s best to apply gardening lime in the fall or early spring, before planting season. This allows the lime to react with the soil and adjust the pH over time. However, if you need to raise the pH quickly, you can apply lime at any time during the growing season.
2. Calculating the amount: The amount of lime to apply depends on the pH level of your soil and the type of lime used. Refer to the recommendations on the lime product packaging or consult a local agricultural extension service for specific guidelines.
3. Spread evenly: Spread the lime evenly over the soil surface using a spreader or by hand. Avoid piling it up or concentrating it in one area, as this can lead to uneven pH adjustment.
4. Incorporate into the soil: After spreading the lime, gently incorporate it into the top few inches of soil using a rake or garden fork. This helps ensure proper mixing and distribution of the lime particles.
5. Water the soil: After applying lime, water the soil thoroughly to help activate the lime and facilitate its reaction with the soil. This will also prevent the lime particles from blowing away or being washed away by rain.
6. Re-test and reapply: It’s a good practice to re-test the pH of your soil after a few months to monitor the effectiveness of the lime application. If necessary, you can reapply lime to further adjust the pH.
Remember, it’s important not to overdo it with lime application. Excessive amounts of lime can raise the pH too high and create alkaline soil conditions, which may be detrimental to some plants. Follow the recommended guidelines and adjust the amount of lime based on the specific needs of your garden.
Common misconceptions about gardening lime
While gardening lime is generally safe to use, it’s essential to take some precautions to protect yourself and your plants. Here are some safety measures to keep in mind:
1. Protective clothing: When handling powdered lime or pelletized lime, wear gloves, long sleeves, and pants to prevent skin contact. Lime can be irritating to the skin and may cause burns or rashes.
2. Eye protection: Wear safety goggles or glasses to shield your eyes from lime dust or particles. In case of accidental contact, flush your eyes with clean water immediately.
3. Avoid inhalation: When working with powdered lime, avoid breathing in the dust. Use a dust mask or respirator to protect your respiratory system.
4. Store properly: Keep gardening lime in a cool, dry place away from moisture and direct sunlight. Moisture can cause the lime to clump or lose its effectiveness.
5. Read product labels: Always read and follow the instructions provided by the lime manufacturer. Different lime products may have specific application rates and guidelines.
6. Keep away from children and pets: Store gardening lime out of reach of children and pets. While it is generally safe when used as directed, ingestion can cause stomach upset or other health issues.
By following these precautions and safety measures, you can ensure a safe and effective application of gardening lime in your garden.
Alternative options for raising soil pH
There are some common misconceptions about gardening lime that need to be clarified. Let’s address a few of them:
1. Lime is a fertilizer: Gardening lime is not a fertilizer. It is a soil amendment used to adjust pH levels. While it can indirectly improve nutrient availability, it does not provide essential nutrients in significant quantities.
2. Lime works instantly: Lime takes time to react with the soil and adjust pH levels. It is not a quick fix for nutrient deficiencies or imbalances. The effects of lime application may take several months to become noticeable.
3. More lime is better: Applying excessive amounts of lime can lead to over-liming, raising the pH too high, and creating alkaline soil conditions. It’s important to follow the recommended application rates and adjust based on soil test results.
4. Lime can fix all soil problems: Lime is effective for adjusting pH levels and addressing acidity-related issues. However, it may not solve all soil problems, such as nutrient deficiencies or poor drainage. It’s important to address these issues separately and choose appropriate soil amendments or practices.
5. Lime is only for acidic soil: While lime is primarily used to raise the pH of acidic soil, it can also be used in slightly alkaline soil to correct nutrient imbalances. However, it’s crucial to test the pH of your soil before applying lime to determine the appropriate adjustments.
By understanding these misconceptions, you can use gardening lime more effectively and avoid common pitfalls.
Conclusion
While gardening lime is an effective way to raise soil pH, there are alternative options available. Here are a few alternatives to consider:
1. Wood ash: Wood ash is a natural source of potassium and can raise soil pH. It is particularly useful for gardens with acidic soil and potassium-deficient plants. However, wood ash should be used sparingly, as excessive application can raise pH levels too high.
2. Eggshells: Crushed eggshells are a natural source of calcium carbonate and can help raise soil pH. They are particularly beneficial for plants that require extra calcium, such as tomatoes and peppers. Simply crush the eggshells and sprinkle them around the base of the plants.
3. Compost: Organic matter, such as compost, can help buffer pH levels and create a more balanced soil environment. Regularly adding compost to your garden beds can gradually improve soil pH over time.
4. Sulfur: In some cases, where soil pH is too high and needs to be lowered, elemental sulfur can be used. Sulfur reacts with the soil to create sulfuric acid, which lowers pH. However, sulfur should be used with caution and in accordance with soil test recommendations, as excessive application can harm plants.
It’s important to note that alternative options may have specific requirements and limitations. It’s best to consult a local agricultural extension service or gardening expert to determine the most suitable option for your specific gardening needs. Learn Gardening Lights 101.